In this article, we'll install the Hashicorp Vault in the Kubernetes cluster and access the same with the spring boot application. In the last article, we installed a Hashicorp vault on a windows machine and integrated it with the spring boot application. Here we will install it in Kubernetes and use the same spring boot application for the demo.
Prerequisites
- JDK
- Maven
- Docker
- Minikube or Kubernetes cluster
- Basic knowledge of Java, Spring boot, docker, and Kubernetes
Install Helm
- Helm charts help to define, install, update and manage the Kubernetes applications. So it would be better if we install a vault with the help of helm charts. Follow the below steps to install helm.
- Download Helm binary from Helm Release
- Extract it to any directory
- Set path variable
- Run the below command to verify the installation
helm version
Install Vault
Create a Kubernetes namespace for the vault so we can manage it easily.
kubectl create namespace vaultAdd helm vault repository.
helm repo add HashiCorp https://helm.releases.hashicorp.comVerify the helm HashiCorp repository before vault installation. As shown in the image, we have a repository so we can start vault installation.
helm search repo hashicorp/vault
Install vault
helm install vault hashicorp/vault -n=vault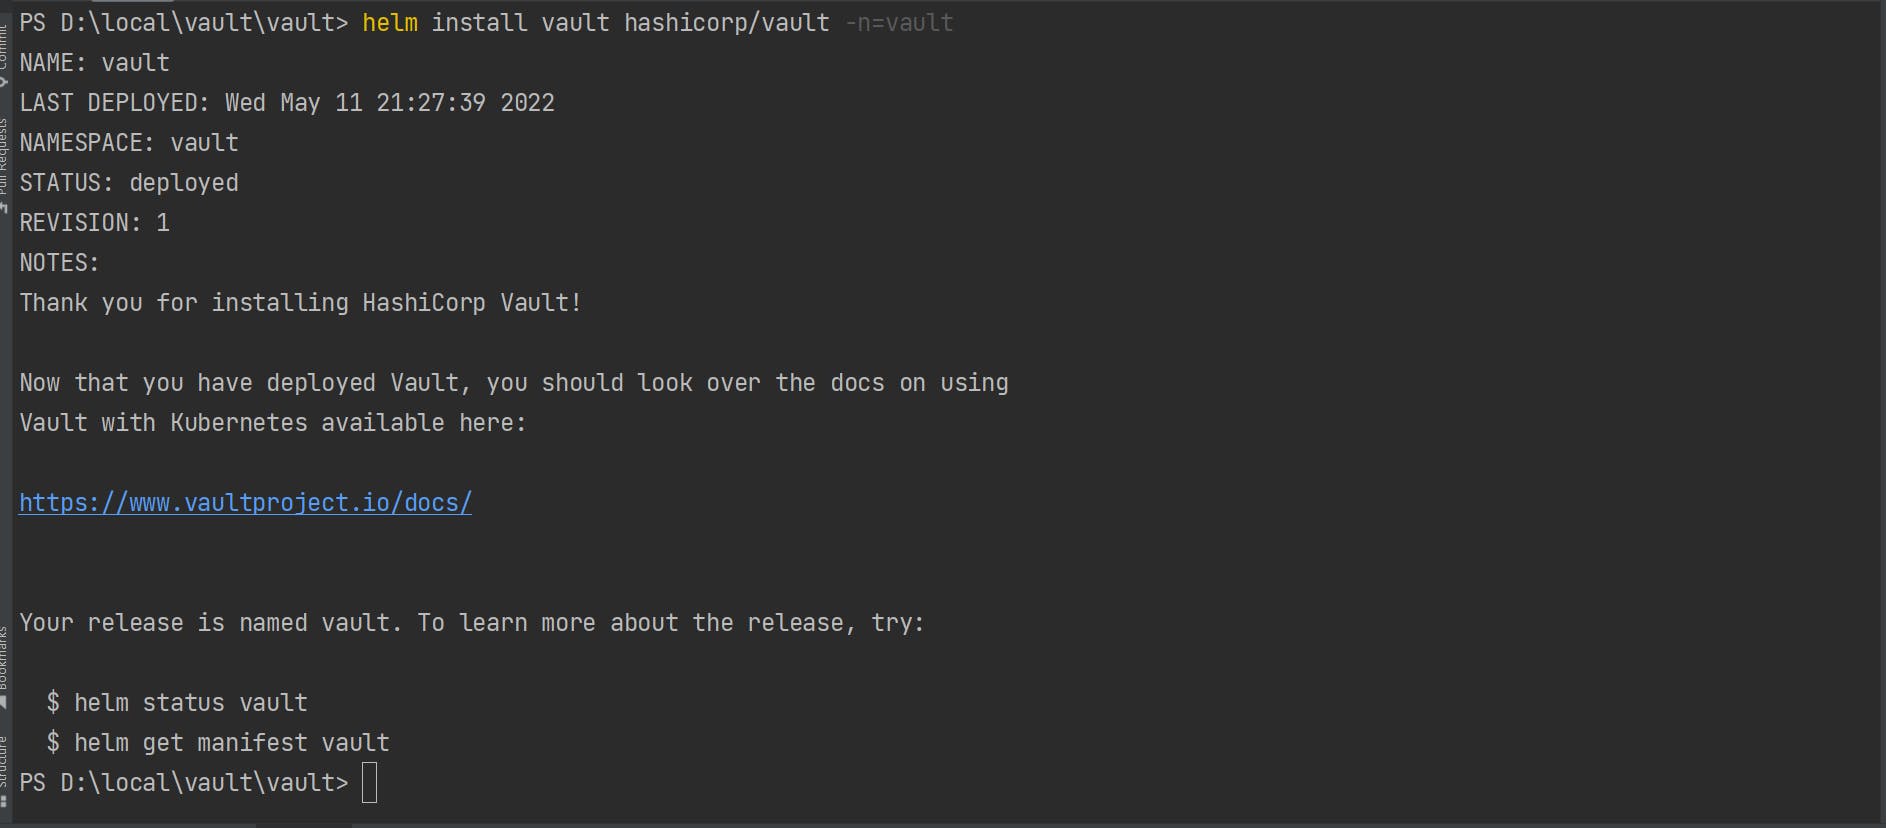
As shown in the below image pod has been created but it will not be in a ready state. To move the pod to the ready state, we need to initialize the pod and unseal the authentication key.
kubectl get pods -n=vault
Check the status of the pod. As shown, the below image pod has not been initialized and unsealed.
kubectl exec -n=vault -it vault-0 -- vault status
Initialize the pod. When we initialize the pod, it will display a list of the unseal key and root token. Save it somewhere we will use it in later steps.
kubectl exec -n=vault -it vault-0 -- vault operator init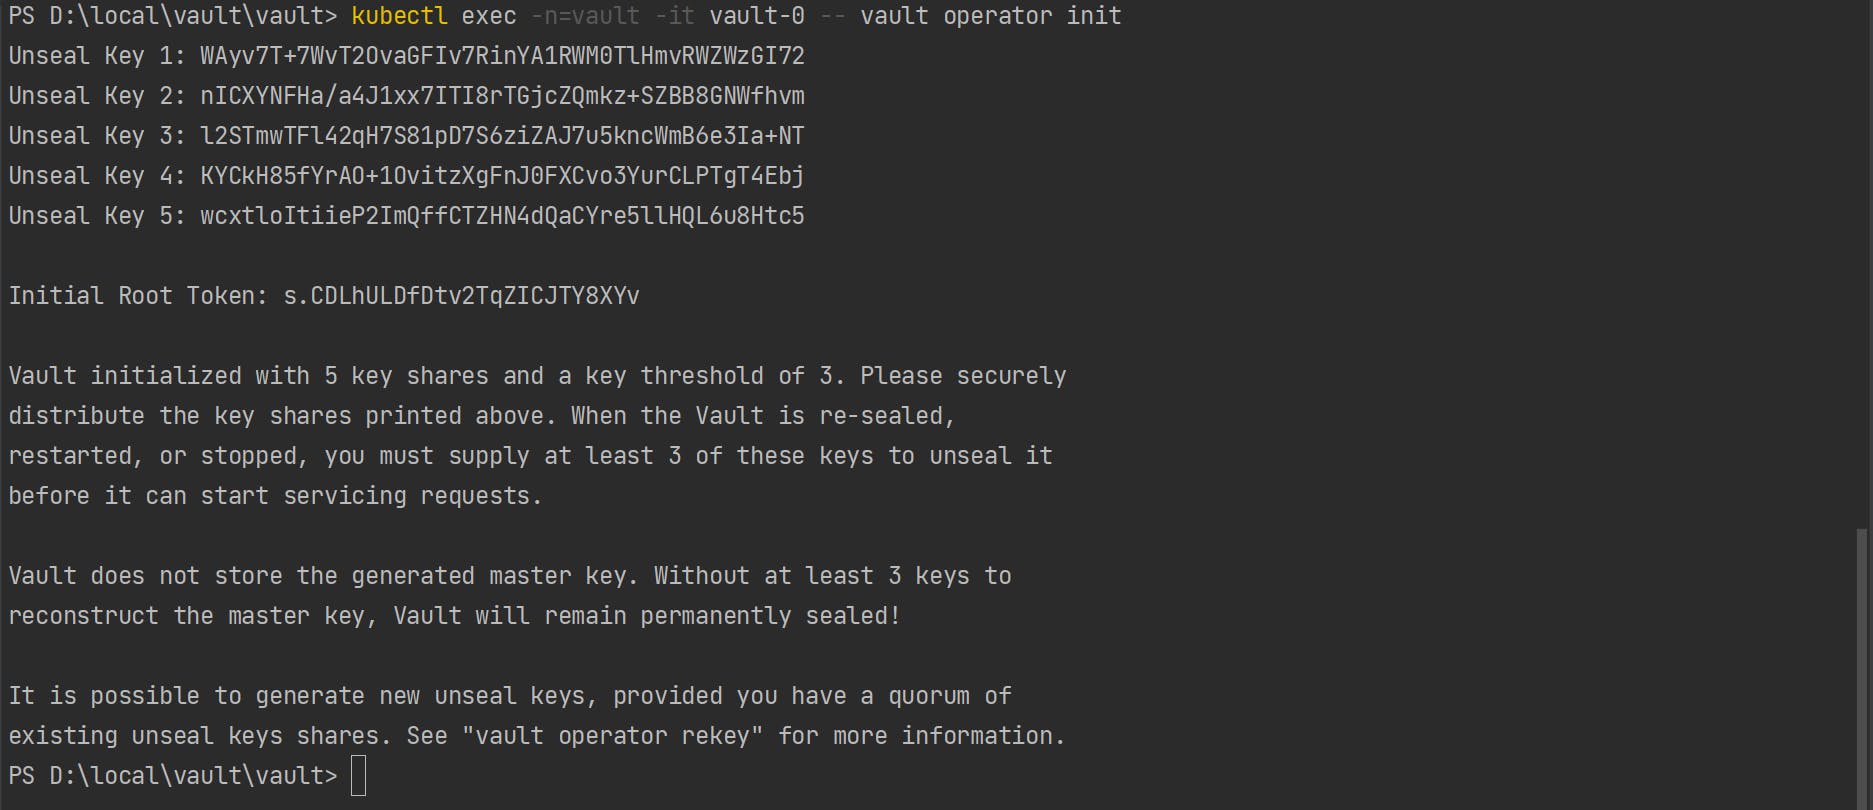
Check status after initializing vault. As shown in below image now pod has been initialized but still its sealed. To unseal the pod, we need to unseal three(Threshold) authentication keys.

Unseal key. It will ask for unseal key that we have saved from the above steps.
kubectl exec -n=vault -it vault-0 -- vault operator unsealStatus after unseal first key. From the below image we can see that one key is unseald from three. so we need to run unseal command two more times.

Pod status after unsealing three keys. As you can see, from the below image, now the pod is in a ready state, so we can store and retire secrets from the same.

Connect to vault
Get into the vault pod
kubectl exec -n=vault --stdin=true --tty=true vault-0 -- /bin/shLogin into the vault. It will ask for a root token that we saved in the above step.
vault loginAs we are trying to store secrets on the secret path so we need to enable the same.
vault secrets enable -path=secret kv-v2Add secret to the vault
vault kv put secret/springdemo username=uname password=pwd
Get secret from the vault
vault kv get secret/springdemo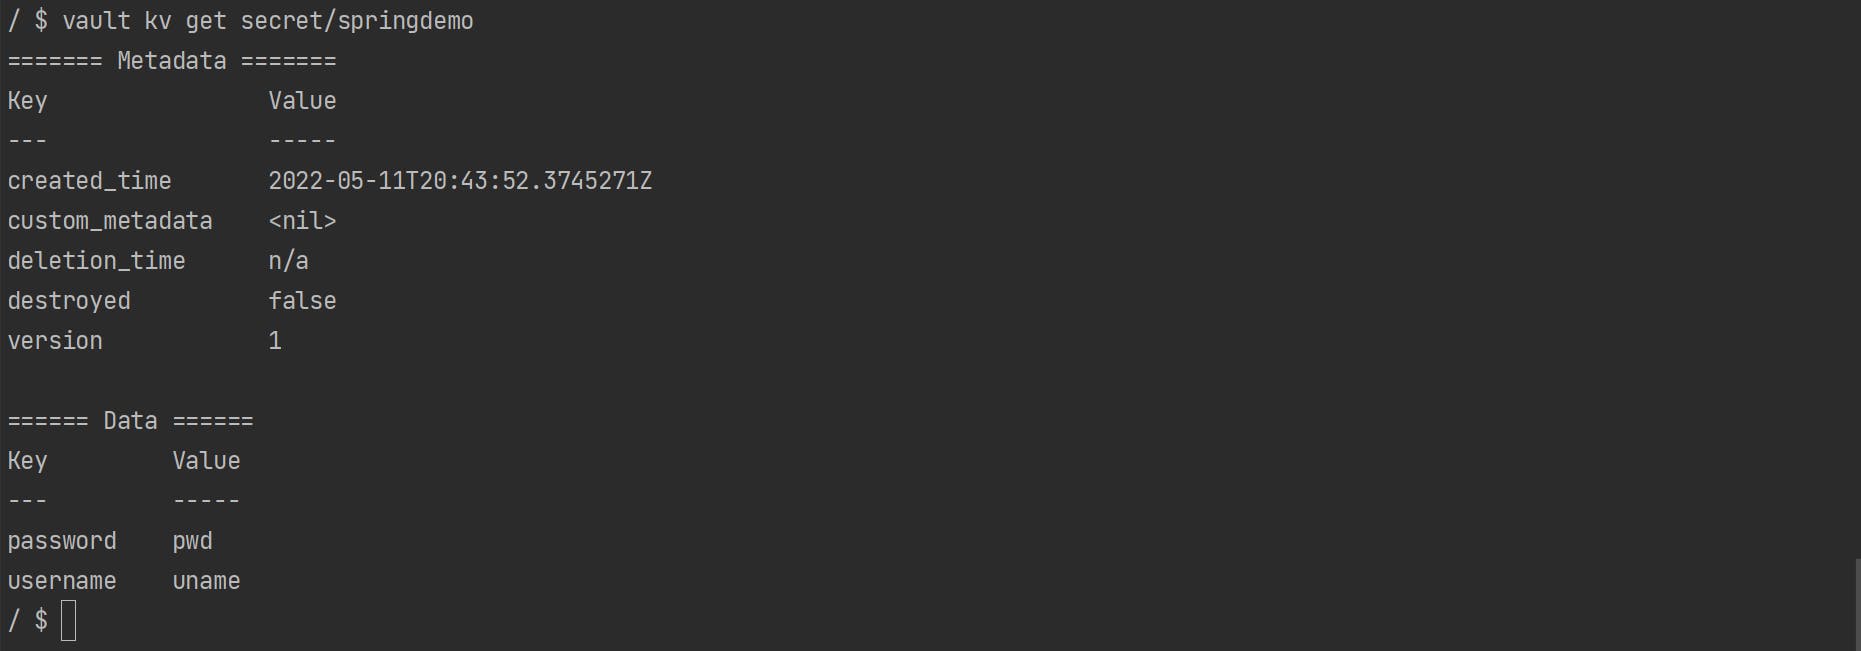
Expose pod outside the Kubernetes cluster
Expose pod by port-forwarding
kubectl port-forward vault-0 8200:8200 -n=vault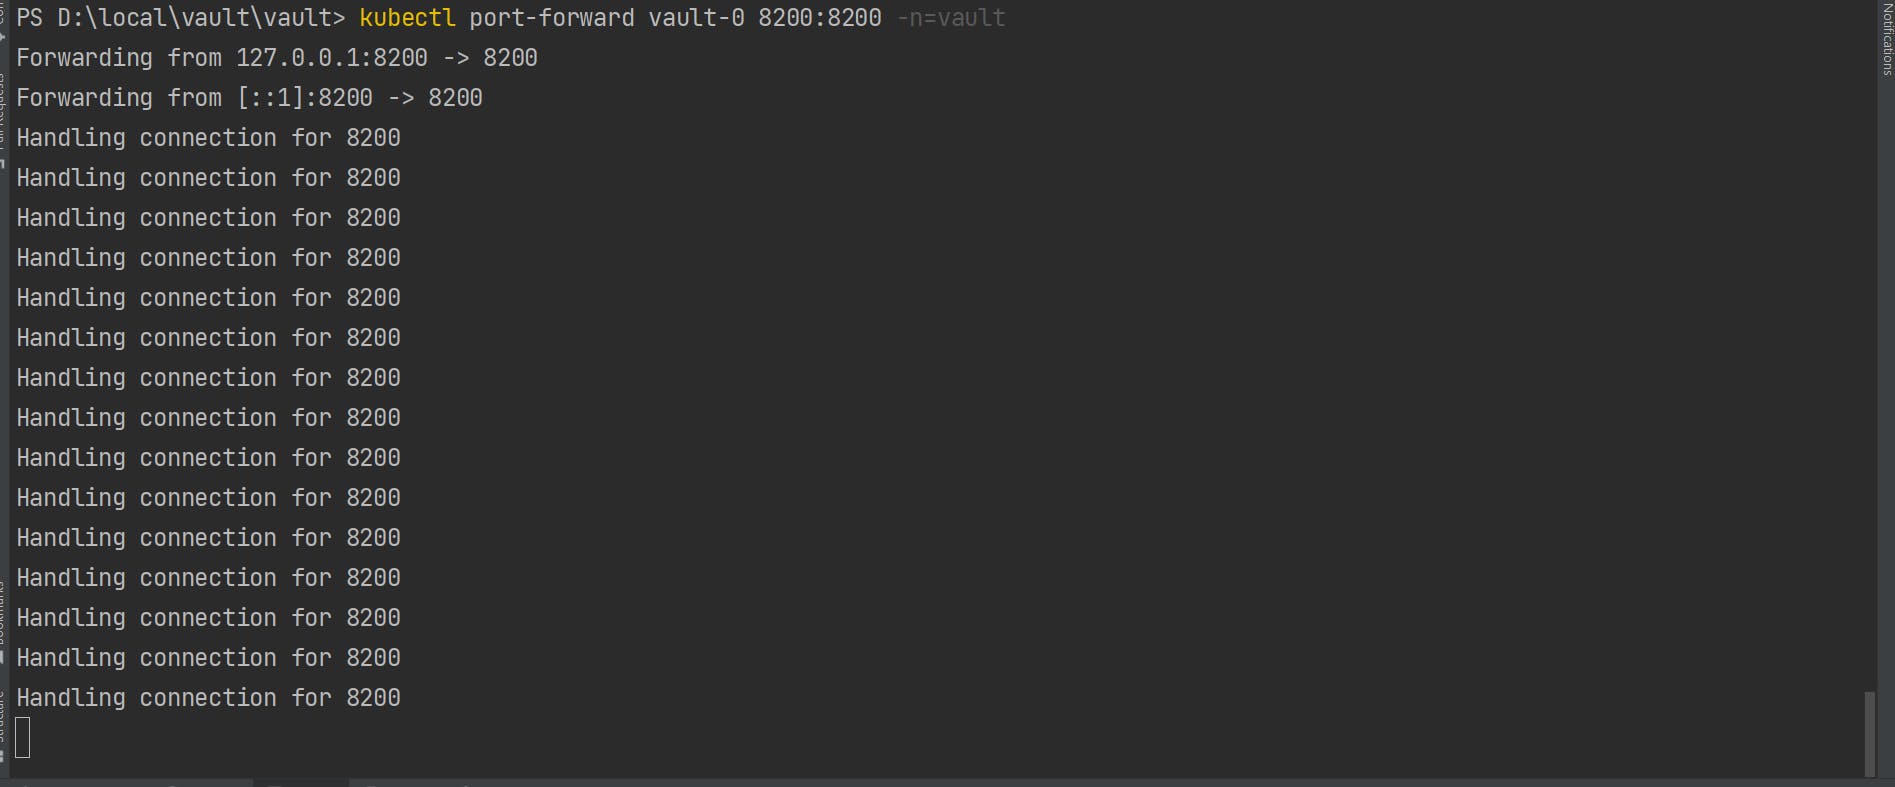
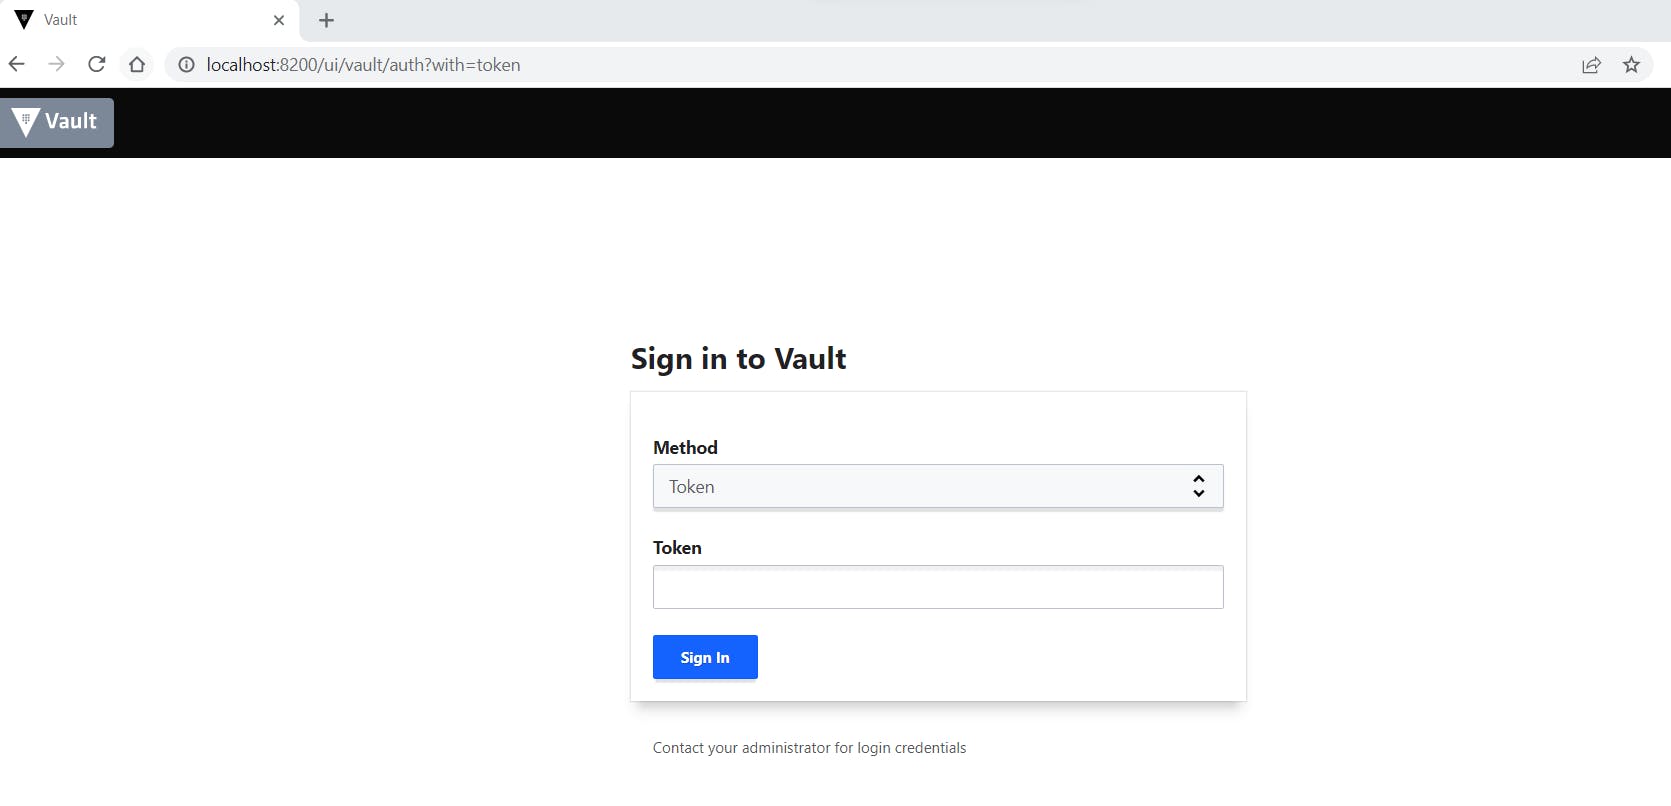
Check exposed pod via browser
Connect to vault with spring boot application
- Here we'll use same spring boot application that we have created as part of the last article
- Replace vault token in the application.properties
- Start the spring boot application
Test /fetch endpoint

